
How can I improve the quality of my Zoom recordings?
You can improve the quality of your Zoom recordings by using a stable internet connection, enabling HD video settings, improving your camera and microphone setup, and optimizing your device before recording. These factors directly affect how clear your video looks and how well your audio is captured during meetings.
Recording quality issues like lag, blurry video, or unclear audio usually come from weak hardware, poor lighting, or system performance—not the platform itself.
Below, we’ll break down the key areas you need to optimize to improve your Zoom recording quality step by step.
1. Use a Stable Internet Connection
A stable connection is essential for smooth Zoom recordings, as poor network quality can cause lag, frozen video, or audio that goes out of sync.
What to do:
- Use a wired (Ethernet) connection if possible
- Avoid downloads or streaming during meetings
- Run a quick speed test before recording
Unstable connections can interrupt data flow during calls, which affects how video and audio are captured in the recording—even if you’re recording locally.
Stable connection = smoother, more consistent recordings
2. Enable HD Video and Improve Lighting
Video quality in Zoom recordings depends on both your settings and how well your camera captures you during the call.
Improve video clarity:
- Enable HD video in Zoom settings
- Use proper lighting (face the light source, avoid backlight)
- Position your camera at eye level
Without proper lighting and positioning, even HD settings can still look dull or unclear. Good lighting helps your camera capture sharper details, while correct positioning improves framing and overall presentation.
Better lighting + HD settings = clearer and more professional recordings
3. Use a Better Microphone for Clear Audio
Audio quality often matters more than video in Zoom recordings, especially when it comes to how clearly your voice is captured and understood.
Improve voice clarity and capture:
- Use an external microphone or headset
- Position the microphone close to your mouth (but not too close)
- Enable “Original Sound” in Zoom
- Avoid relying on built-in laptop microphones
Built-in microphones often struggle to capture voice clearly, especially at a distance or in group settings. A dedicated microphone helps ensure your voice sounds fuller, more consistent, and easier to understand throughout the recording.
Clear voice capture = more professional and usable recordings
Improve Recording Quality Beyond Basic Setup
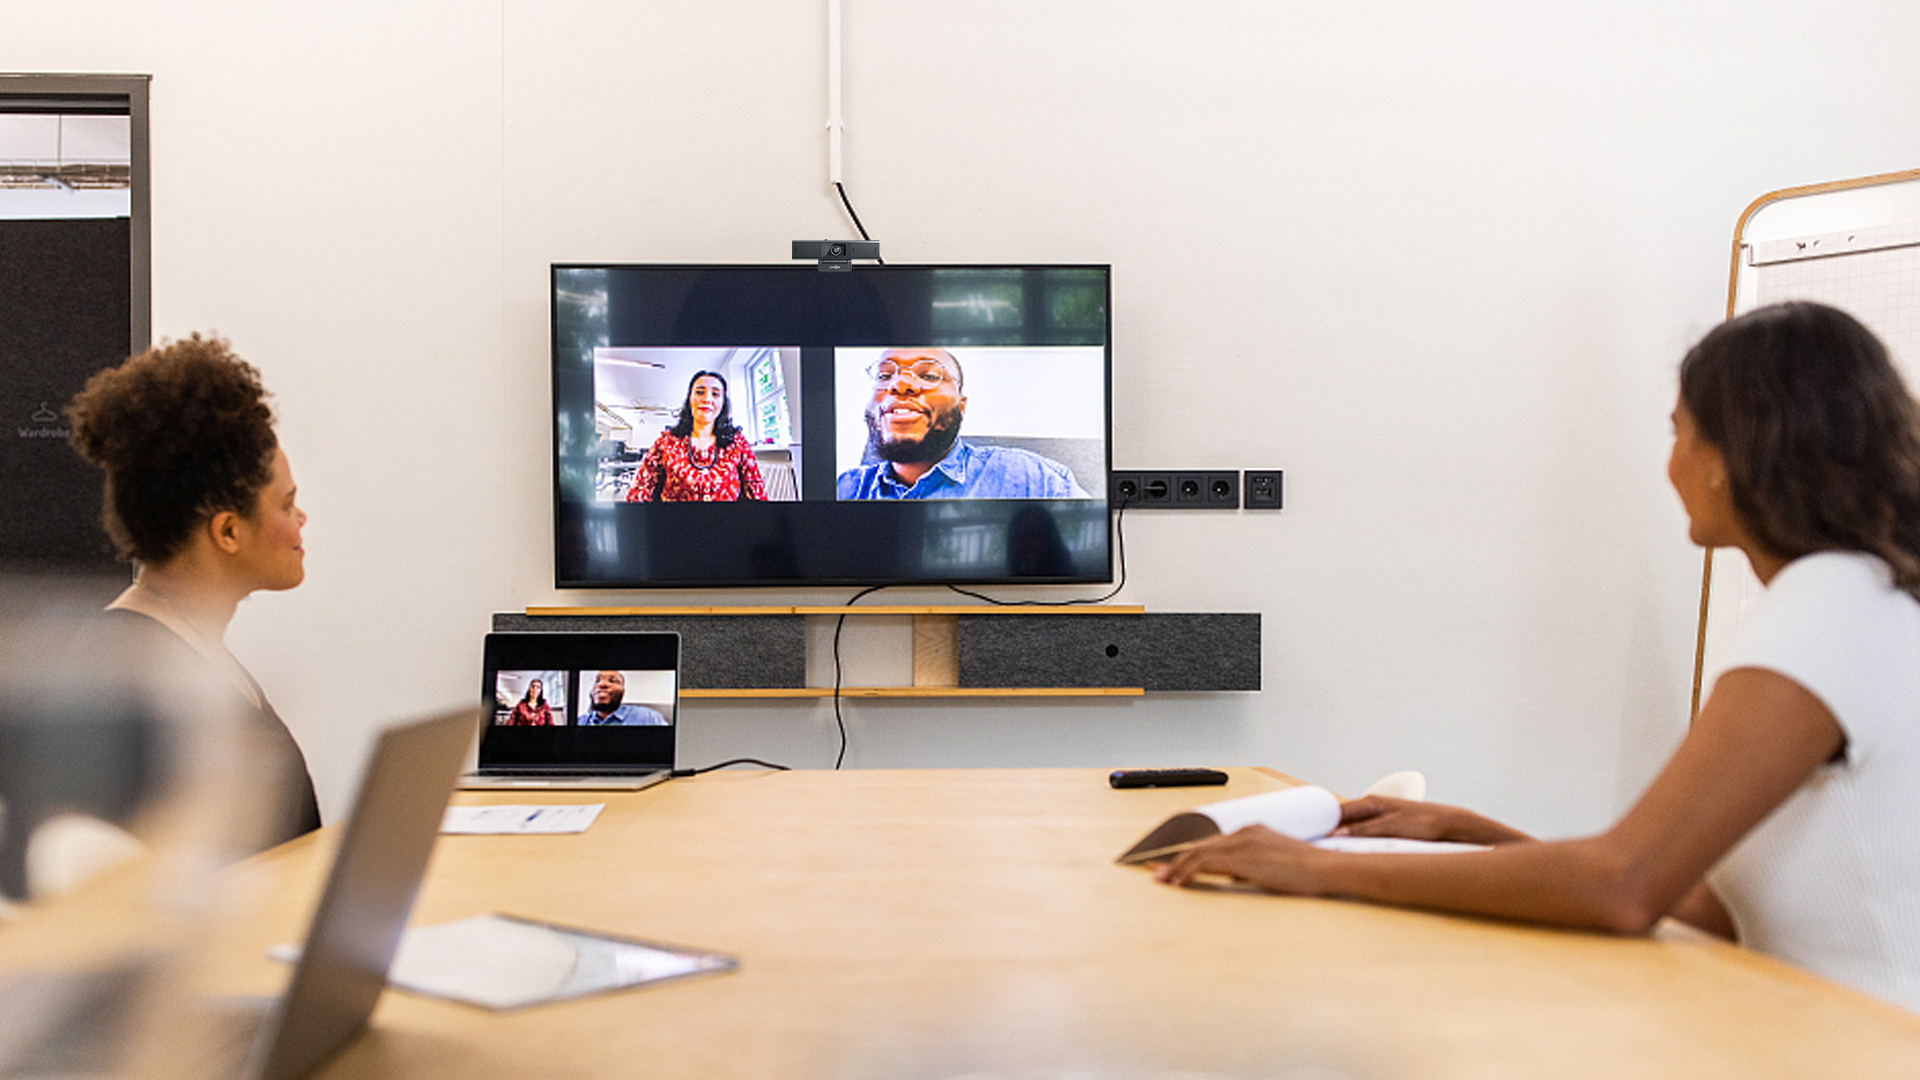
If your Zoom recordings still have unclear audio and video inconsistent quality, especially in group or hybrid setups—the limitation is often your hardware, not the software. This is because built-in webcams and microphones struggle to capture multiple speakers clearly or cover the full room effectively.
In these cases, using dedicated communication tools like Coolpo PANA can help improve both audio clarity and overall meeting capture. With 4K 360-degree video and audio coverage and multi-directional voice pickup, it supports more consistent recording quality in shared environments.
4. Optimize Your Device Before Recording
Your computer performance affects recording quality.
Before recording:
- Close unnecessary apps
- Restart your device if needed
- Update Zoom to the latest version
The more apps running in the background, the more your device uses CPU and memory resources, which can lead to lag, dropped frames, or audio issues during recording.
Less system load = smoother performance and better recording output
5. Choose the Right Recording Type
The way you record your meetings in Zoom can significantly affect overall quality and reliability.
Local Recording:
- Offers better control over recording quality
- Depends on your device’s performance and storage
Cloud Recording:
- Easier to access, share, and distribute
- Quality depends on internet stability during the meeting
Local recording is generally preferred when your goal is higher and more consistent video and audio quality, especially for important meetings or reusable content.
Use local recording for higher-quality and more reliable results whenever possible
Recording Checklist
Before recording:
- Stable internet
- HD video enabled
- Good lighting
- External mic ready
- No background apps
Final Takeaway
Improving the quality of your Zoom recordings comes down to optimizing your internet, video settings, audio setup, and device performance together, since most issues like lag, blurry video, or unclear sound are caused by setup limitations rather than the platform itself; for teams that still experience inconsistent results—especially in group or hybrid meetings—upgrading to an integrated solution like PANA can further improve recording consistency by combining 360-degree video coverage and multi-directional voice capture in one system.
Recent blogs


%20(1).jpg)
Return to Office 2.0: Remote Work Is Evolving, But So Are the Distractions

.jpg)
Reliable
Innovation
Touch


