
How to Do Zoom & Video Conferencing Test Like a Pro
If you use Zoom for work, meetings, or remote collaboration, for you to do Zoom & Video conferencing test like a pro, you have to check your internet stability, run a Zoom test meeting, verify your camera and microphone, check zoom connection quality during a call and optimize your device settings before a call is essential. It helps prevent issues like lag, dropped audio, frozen video, or unstable connections during important discussions.
This guide shows a complete, test zoom connectivity so your meetings stay stable and professional.
1. How Do You Test Your Internet for Zoom?
Before opening Zoom, check if your internet is stable enough for video calls.
What to check:
- Download speed (video quality)
- Upload speed (how others see you)
- Ping (delay in communication)
- Jitter (connection stability)
Recommended performance:
- 3–6 Mbps → basic video calls
- 10–20 Mbps+ → smooth HD meetings
- Low ping (<50ms) → real-time communication
Even with fast internet, unstable Wi-Fi can still cause freezing or voice delay.
2. How Do You Run a Zoom Test Meeting?
The fastest way to test everything is using Zoom’s built-in test environment.
Steps:
- Open Zoom test meeting page
- Join a test room
- Allow camera and microphone access
What to check:
- Camera preview (video clarity and framing)
- Microphone input (voice detection)
- Speaker output (audio clarity)
This simulates a real meeting without other participants.
3. How Do You Test Your Camera and Microphone?
Even if your internet is fine, hardware issues can still affect call quality.
Camera checklist:
- Proper lighting (avoid backlight)
- Face centered in frame
- No blur or distortion
Microphone checklist:
- Clear voice pickup
- No echo or background noise
- Correct device selected (built-in or external)
Pro Tip:
Improve Video and Audio Clarity Beyond Basic Settings
If you're still experience issues like unclear voice pickup, limited camera coverage, or participants being cut out of the frame during discussions, the issue may be your hardware setup rather than the platform itself.
In hybrid meetings, these problems are common when using standard webcams and built-in microphones, which are not designed for group discussions or full-room coverage.
How to Fix?
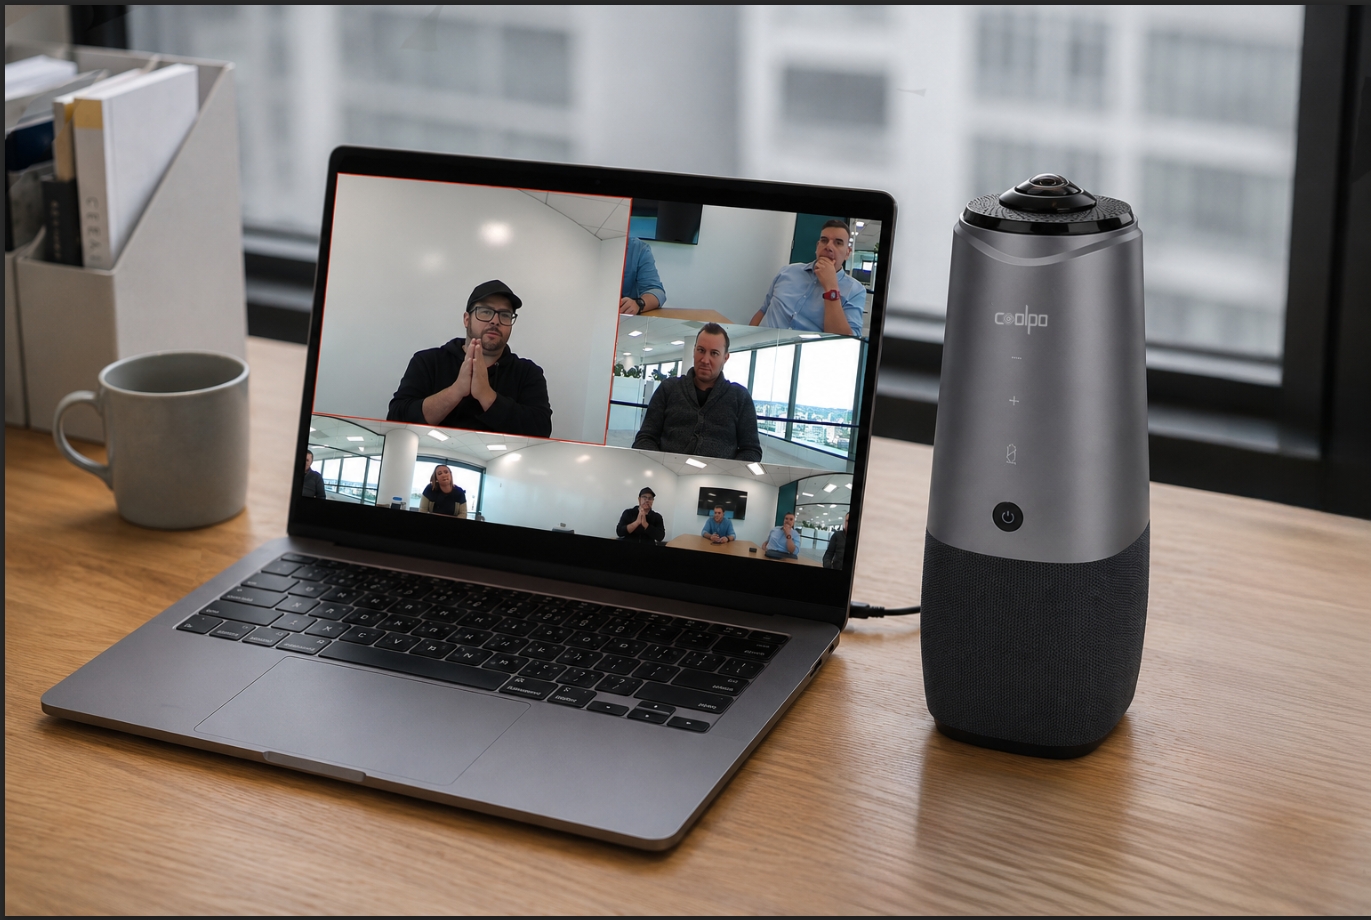
In these cases, hybrid teams often upgrade to dedicated communication tools such as Coolpo PANA. With features like a 360-degree camera and multi-directional voice pickup, it helps improve both audio clarity and full-room visibility for in-person hybrid meetings.
4. How Do You Check Zoom Connection Quality During a Call?
Inside Zoom, you can monitor real-time performance.
Indicators:
🟢 Green = stable connection
🟡 Yellow = moderate instability
🔴 Red = poor connection
You can also check:
- Packet loss
- Latency
- Audio/video delay
These signals help identify whether the issue is network or device-related.
5. How Do You Optimize Your Device for Zoom?
Before joining important meetings, improve your system performance:
- Close background apps (downloads, streaming, cloud sync)
- Restart router if needed
- Update Zoom to the latest version
- Ensure your device is charged or plugged in
Wired Ethernet connections are more stable than Wi-Fi for critical meetings.
6. How Do You Improve Zoom Performance Settings?
If your connection is weak, adjust Zoom settings:
1. Turn off HD video
2. Disable virtual background
3. Stop video when not needed
4. Reduce screen-sharing load
These adjustments reduce bandwidth usage and improve stability instantly.
Zoom Connectivity Checklist (Before Every Meeting)
Before joining any important call, make sure you have:
✔ Stable internet connection
✔ Working camera with good lighting
✔ Clear microphone audio
✔ Completed Zoom test meeting
✔ No heavy background applications
✔ Stable Wi-Fi or wired connection
FAQ: Zoom Connectivity Testing
1. Why is my Zoom lagging even with good internet?
Usually due to Wi-Fi instability, background apps, or device performance—not just internet speed.
2. What is the best internet speed for Zoom?
At least 3–6 Mbps for basic calls and 10–20 Mbps for HD or group meetings.
3. How do I fix poor Zoom audio quality?
Check microphone settings, reduce background noise, and use a better audio device if needed.
4. Can Zoom run smoothly on Wi-Fi?
Yes, but wired connections are more stable and recommended for important meetings.
Doing a proper Zoom and video conferencing test is essential before any call. By checking your internet stability, running a Zoom test meeting, verifying your camera and microphone, monitoring connection quality during calls, and optimizing your device settings, you significantly reduce the risk of technical issues.
This simple routine helps prevent common problems like lag, dropped audio, frozen video, and unstable connections during important discussions. In practice, a few minutes of preparation ensures your meetings stay stable, professional, and interruption-free—no matter where you are working from. For larger company-wide discussions, organizations also benefit from using more structured and hybrid-friendly meeting strategies to improve communication and participation.
Recent blogs


%20(3).jpg)
.png)

Reliable
Innovation
Touch


